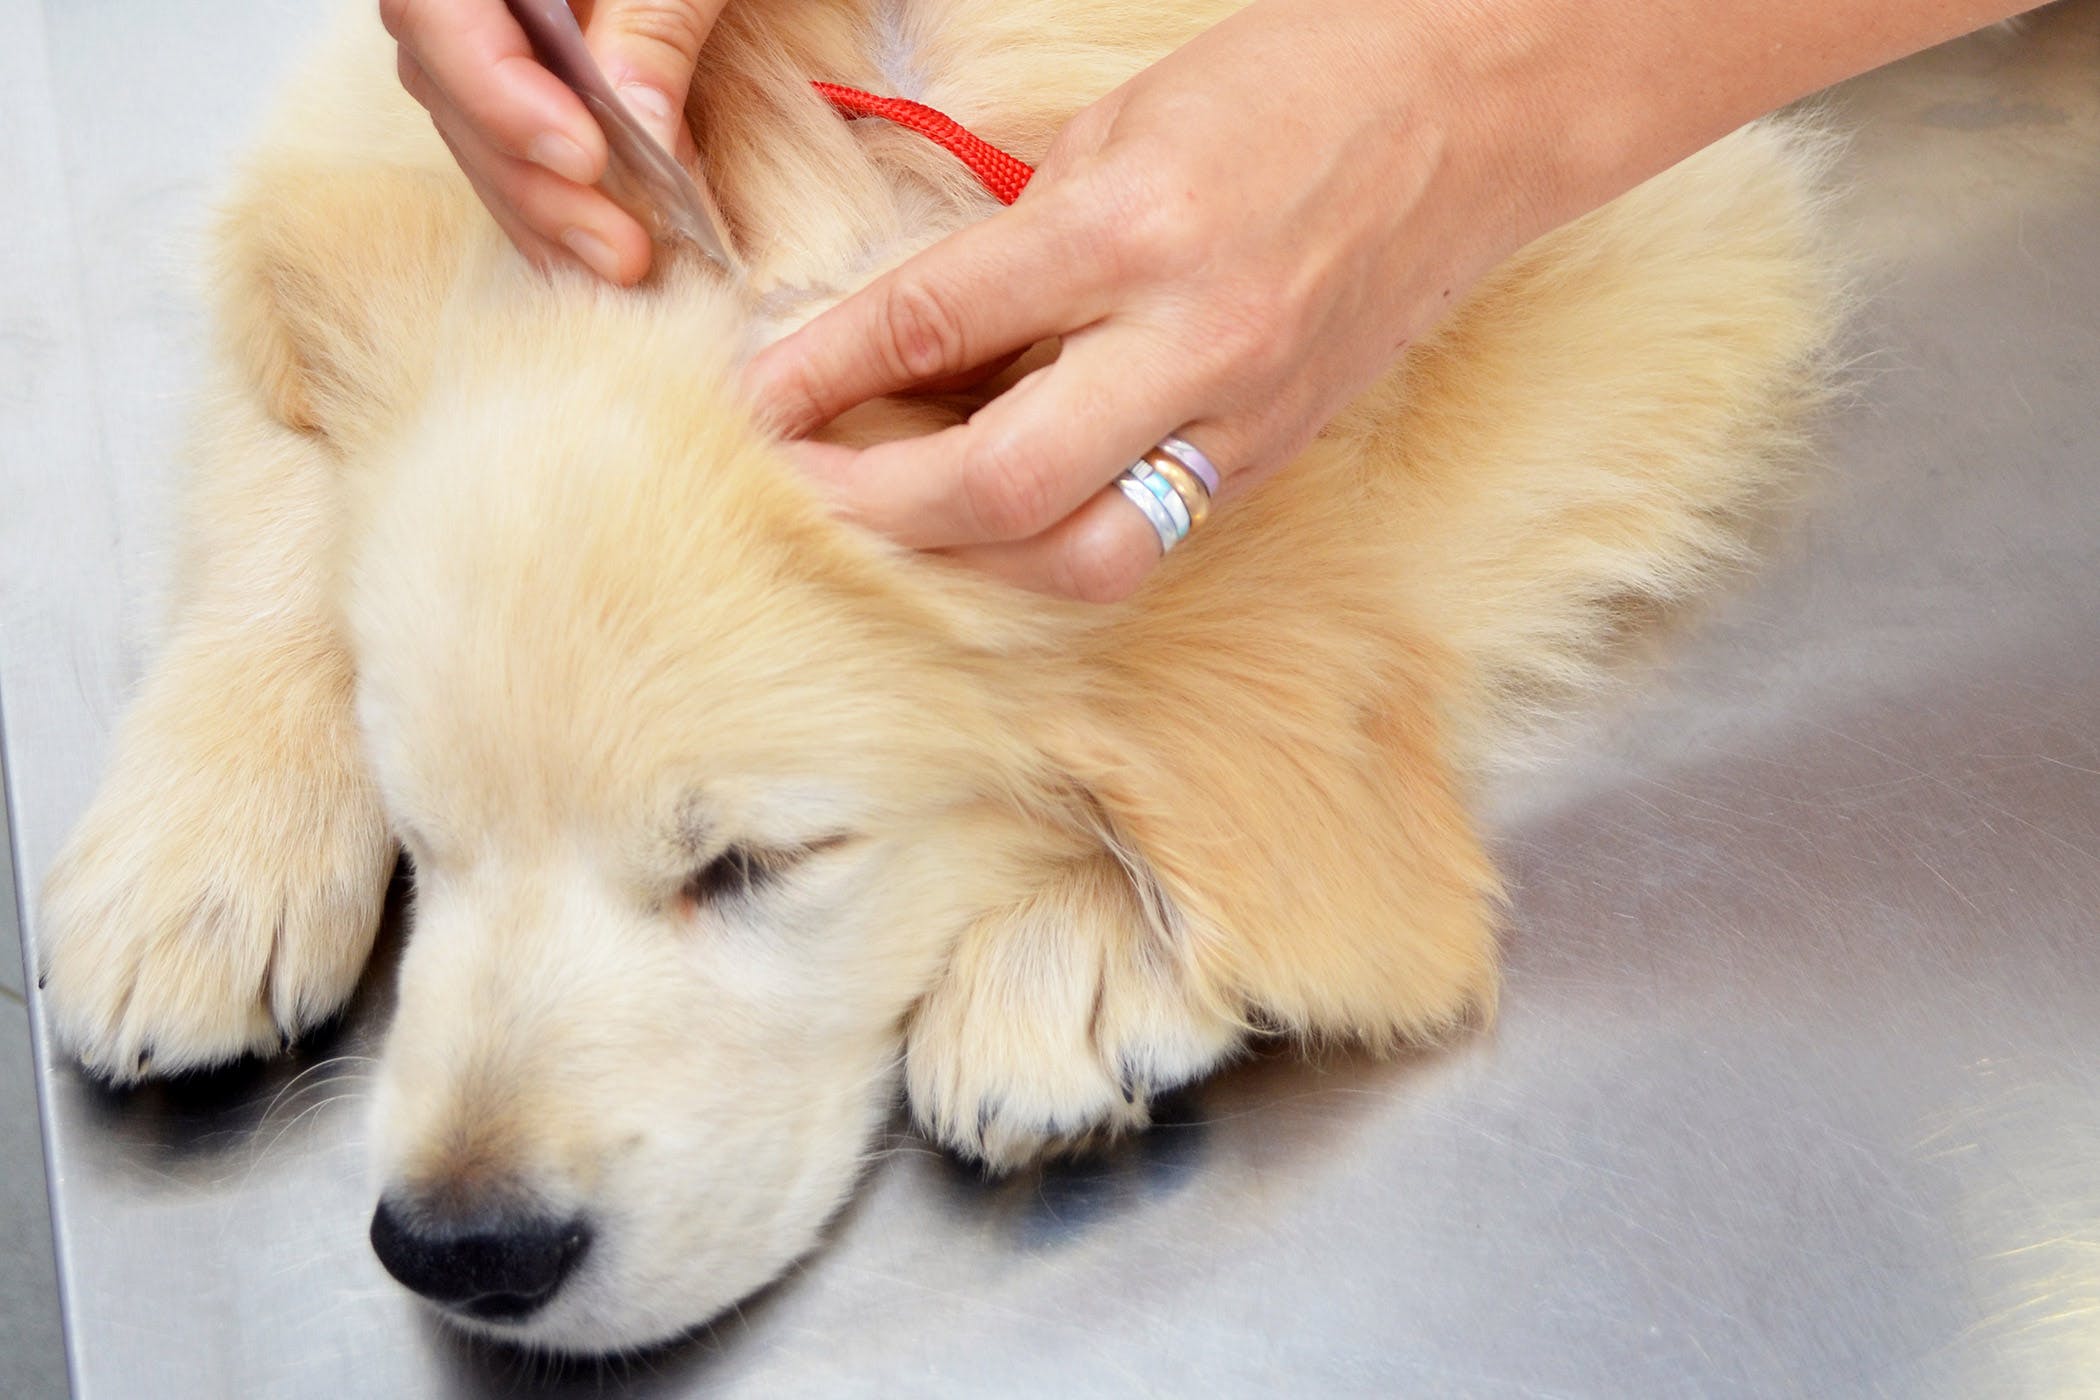
Living in Southern Ontario, the risk of tick bites is an unfortunate part of spending time outdoors. Ticks may be small, but they can carry very serious diseases, such as Lyme disease, that can be passed to both you and your pet if bitten. In fact, these diseases can be transmitted within 24 hours of being bitten. Due to this, it’s important that you remove ticks as quickly as possible if you notice one on your pet.
Before you go to remove a tick from your pet, you will need to gather a few supplies:
- Rubber gloves
- Tweezers
- Rubbing alcohol
- Jar with a secure lid
- Your pet’s favourite treats
Once you have the necessary items, you can remove the tick following the instructions below:
STEP 1: PROTECT YOURSELF
The biggest issue with ticks is that they can transmit serious diseases through their bites. Due to this, you’ll want to make sure to wear rubber gloves to reduce your risk of accidentally being bitten.
STEP 2: CALM YOUR PET
Many pets become nervous when they are suddenly being prodded or examined. If your pet is fidgeting or shaking it can make fully removing the tick more difficult, which is why it’s important that you calm them before doing the removal. A great way to do this is to remain calm yourself, give lots of pets, and offer them some of their favourite treats. Having a second person available to help hold your pet can also be helpful for particularly nervous animals.
STEP 3: USE YOUR TWEEZERS
Using your tweezers, grab hold of the tick as close to your pet’s skin as possible. Once you have the tick securely in the tweezers, steadily pull using a straight motion (no twisting or wiggling). During the removal, it’s important that you don’t squish the tick, as you want to avoid any bodily fluids from being spilt on your pet.
STEP 4: EXAMINE THE TICK
Once the tick is removed, give it a close examination to ensure that the entirety if the bug has been removed, in particular the head and mouth. If they have not been removed or you’re not positive, take your pet to the vet so they can remove the remaining material.
STEP 5: DISPOSE OF THE TICK
If you are able to remove the tick in one piece, there is a very good chance that it will still be alive. To dispose of it, fill your jar with rubbing alcohol and place the tick inside. Even after the tick has died, it is recommended to keep the jar on hand in case your pet starts to display symptoms of illness. If this happens, contact your veterinarian immediately.
Removing a tick from your pet is never a pleasant experience, but by following these steps you can complete the task quickly and efficiently. It’s important to remember that when it comes to tick removal time is of the essence, which is why it’s a good idea to give your pet a once over every time it comes inside.
If you have any questions about removing ticks or the diseases that they carry, contact our vet clinic staff in Kitchener. We’re here to answer any of your questions!

