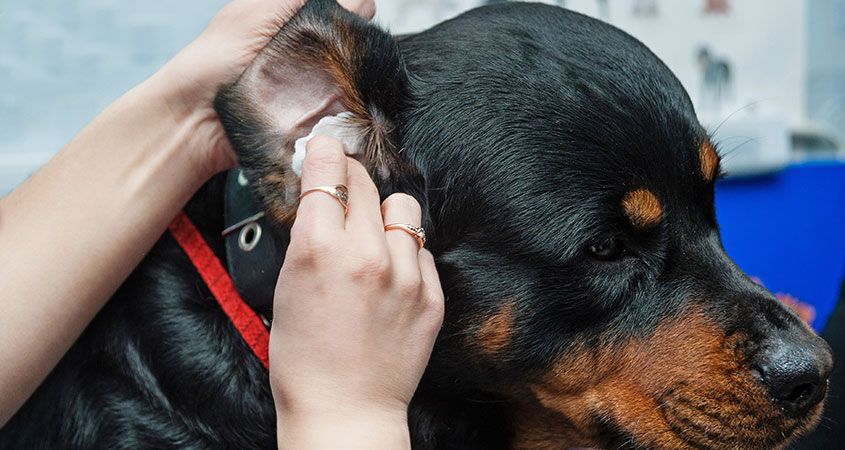
When it comes to regular care and maintenance of your dog, ear cleaning is one of the more intimating tasks for new and seasoned owners alike. This is totally understandable – the task of juggling cotton balls and cleaning solution while holding down a cranky squirming dog can make any dog owner throw up their arms and say “you win this time pup”. Fortunately, with a little bit of practice, ear cleaning can become part of your dog’s regular routine.
So, how exactly do you clean your dog’s ears? To make the process of ear cleaning as smooth as possible, we’ve put together a simple step-by-step guide.
STEP 1: GATHER THE SUPPLIES
Before you get your dog, make sure that you have all the necessary supplies on hand. These include dog-specific ear cleaning solution, cotton balls, or gauze. Make sure that all of these are within reach, because as soon as you begin cleaning you’ll want everything you need handy.
STEP 2: BE PREPARED WITH TREAT
You want to make sure that the experience of having their ears cleaned is as positive as possible. A great way to do this is to offer some of their favourite treats throughout the cleaning process. This way, they begin to associate cleaning time with treats as well as be temporarily distracted while you get to work.
STEP 3: INSPECT FOR FOREIGN OBJECTS OR FLUIDS
Positioning yourself close to your dog, look in their ears for any signs of foreign objects, such as bugs or debris, as well as any unusual fluids. If not notice any of these, put the ear cleaning on hold and contact your vet.
STEP 4: CLEAN THE OUTSIDE FOLDS OF THE EARS
If your dog’s ears are free of foreign objects and fluids, use a cotton ball or piece of gauze soaked in cleaning solution to gently clean the outer folds of the ears.
STEP 5: SLOWLY WORK YOUR WAY IN
Once the outsides of your dog’s ears are clean, you can slowly work your way in. However, it’s important to only do so until your feel resistance. Your dog’s ears are very sensitive so you do not want to force anything in them that may cause serious damage.
STEP 6: IRRIGATE YOUR DOG’S EARS IF NECESSARY
If your pup has a lot of built up wax, your vet may recommend irrigating their ears using a special solution. Similar to ear drops, this solution is inserted into the opening of the ear and let sit. Once inserted, you can rub your dog’s ears to help the solution work in. However, this should ONLY be done if recommended by your veterinarian.
STEP 7: FINAL LOOK OVER
After your dog’s ears are cleaned out, it’s normal for them to want to shake their head to clear out their ears – let them do it! Once they’re done, use a cotton ball or piece of gauze to quickly wipe out their ears again to collect any remaining wax or debris loosed by the head shaking.
Ideally, you should be cleaning out your dog’s ears once a week or as recommended by your veterinarian. The first few times may be challenging, but the more you do it, the more comfortable your dog will become and the less time it will take. Before you know it, you’ll be able to thoroughly clean your pup’s ears in minutes!
If you have any questions about cleaning your dog’s ears or any other aspects of dog care, give our Kitchener vet clinic a call. All of our staff are ear-cleaner extraordinaires and are happy to share further tips and tricks.

